I’m trying to get back into 3d pruning after a long hiatus.
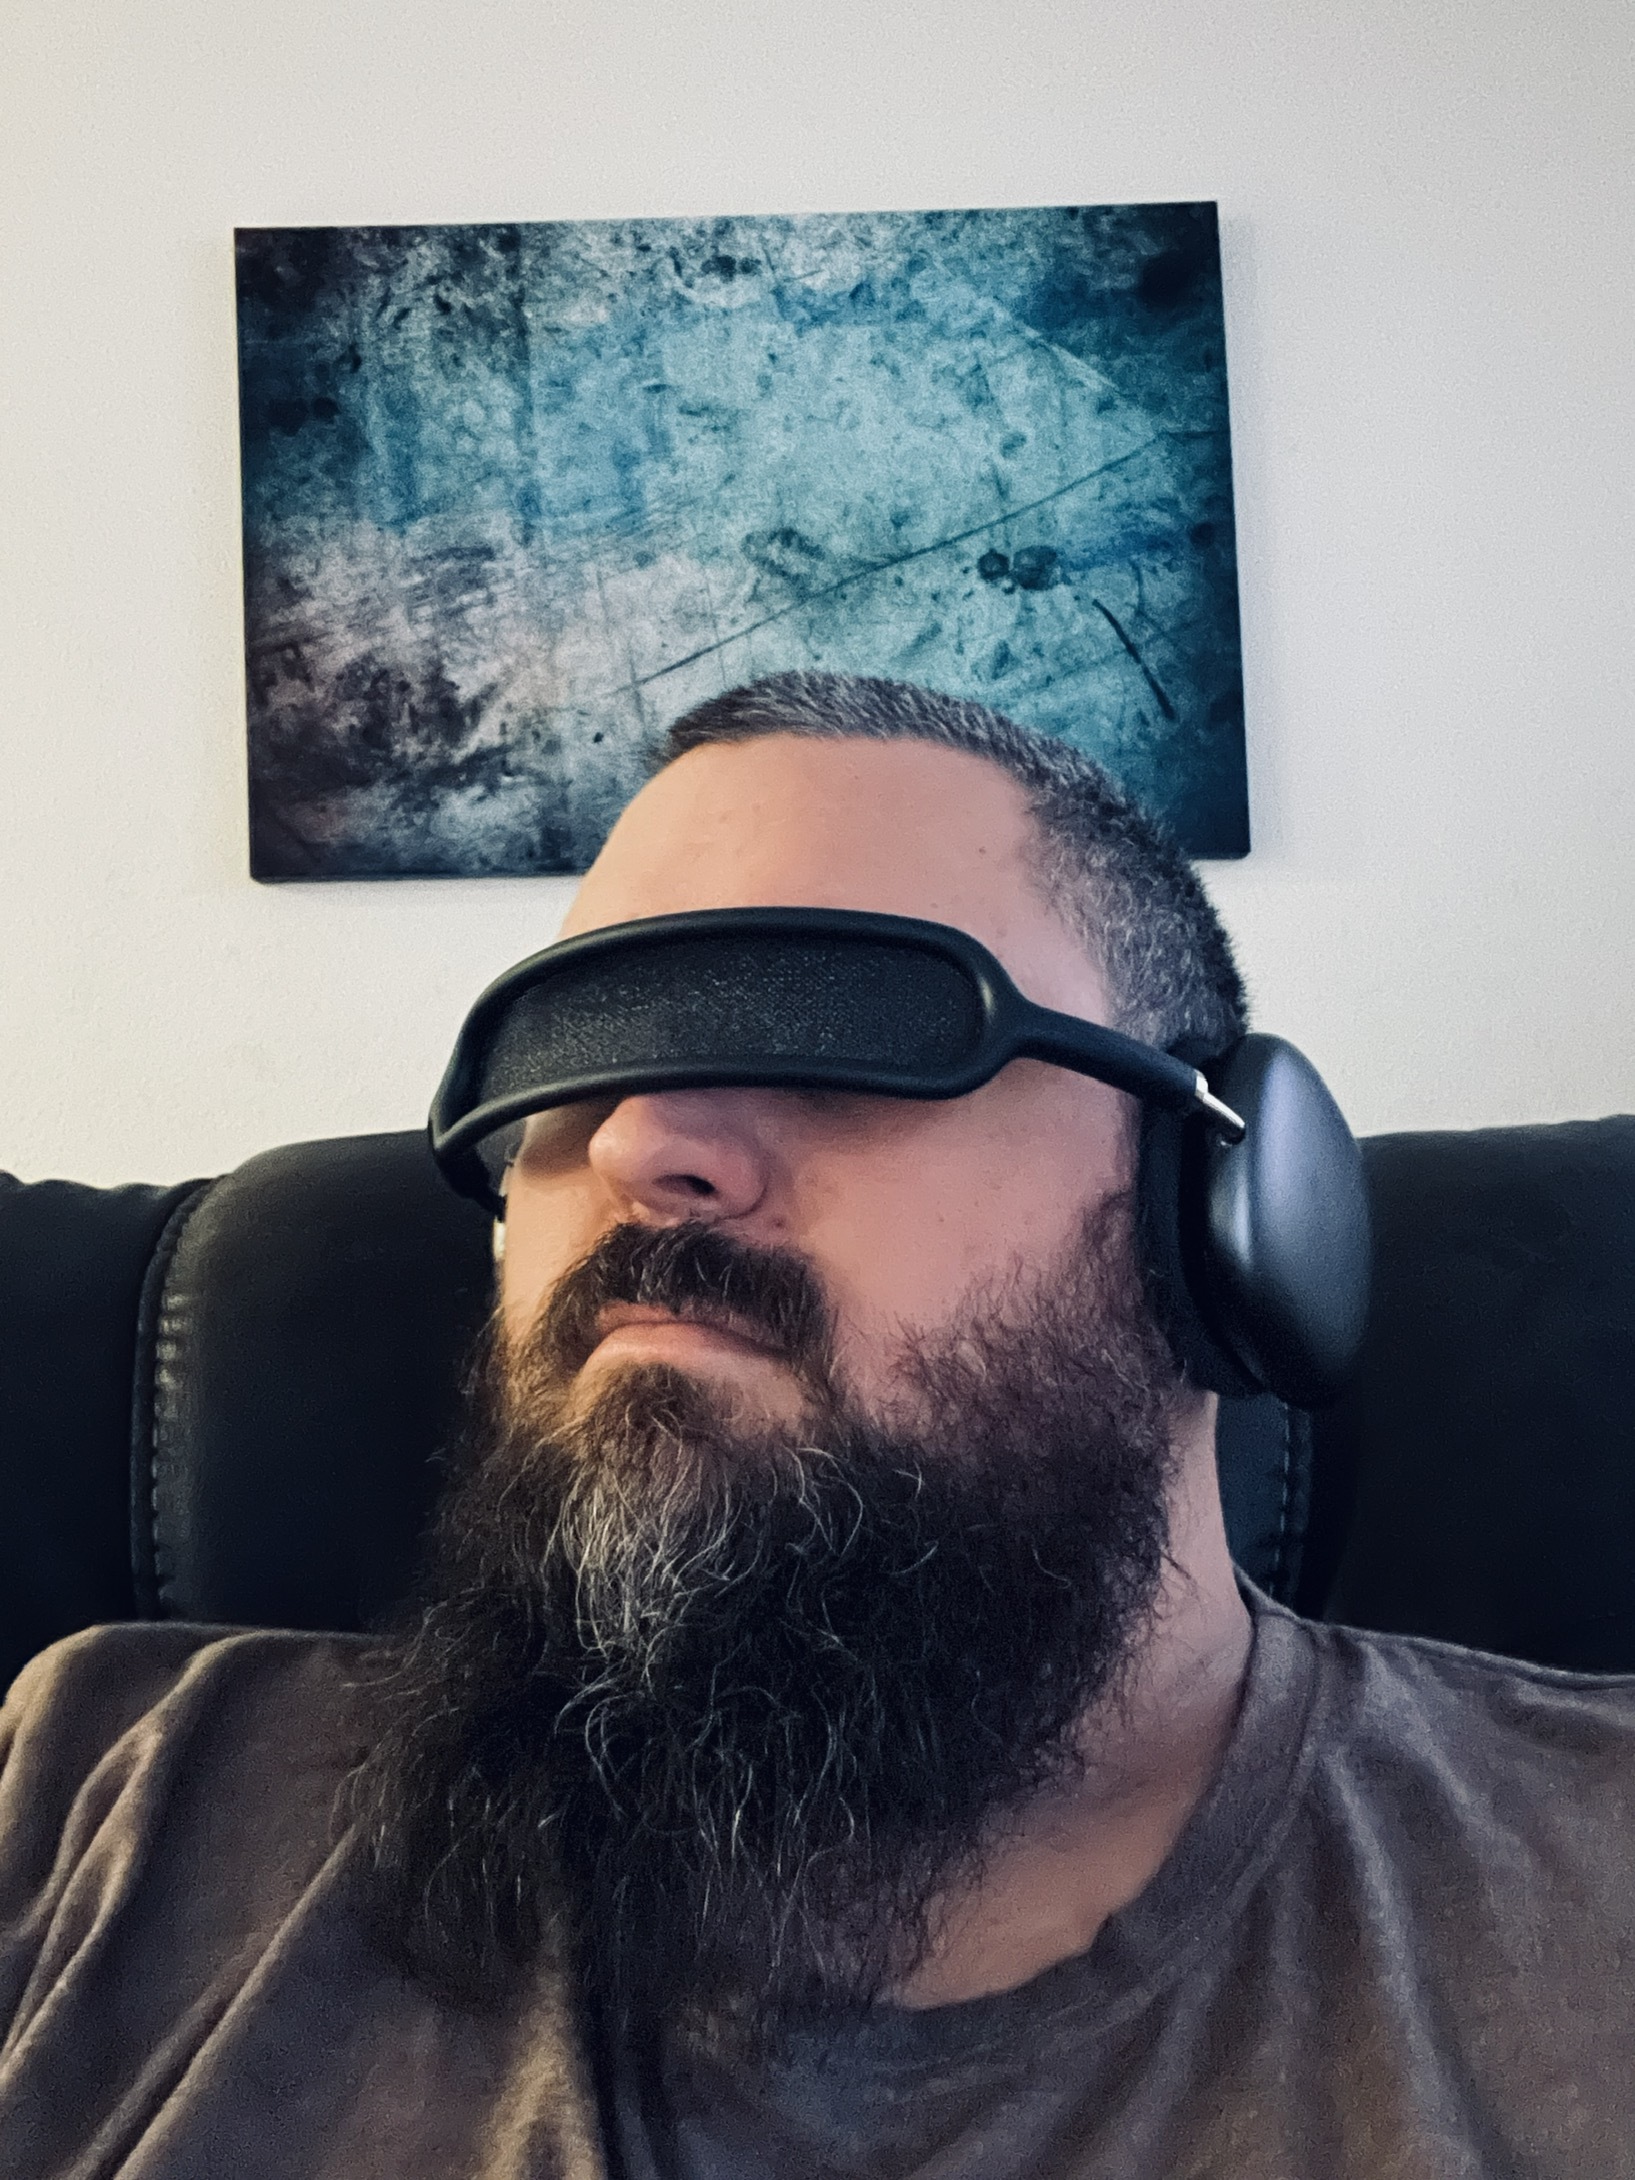
I found my old Anycubic Chiron, and thought I’d give it a go. Smaller prints seem fine. But anything longer than an hour. Come off like this. I say that what I mean is I excitedly take the multi hour print off the bed in excitement and for get to look at how it is.
The two longer prints definitely were at least in part still adhered to the print bed despite it being cold.
My next plan is to set a print away and check on it every hour or so and see if one side of the print has warped mid print (so far I’ve been printing before I go to bed, and only watching the initial couple of layers).
My guess it that the (pla+) filament is warping mid print… Its old I’ll admit. But was stored in an airtight container with silica packs, and I dried it out before using. But any of your thoughts would be greatly appreciated!
Try raising the bed temperature a little, and maybe add brims to your prints for better bed adhesion. Another thing to try if the above doesn’t work is glue.
Here’s a guide that walks you through the process of fixing the warping issue: https://www.3dsourced.com/rigid-ink/3d-prints-warping-curling-how-to-prevent/
Thank you very much for your response, and the link.
I had a look at my settings for bed temperature. I currently have the bed temperature at 70 degrees. However it appears that is initial bed temperature. It then drops to 60. Thankfully I want to print a few more of the exact same model, so I will reprint on a steady 70.
I will give the bed to thorough clean with 99% IPA. A next perhaps a coating of PVA.
Thx again!
Maybe try using 70% or 91% IPA. 99% might evaporate too fast to give it a good cleaning.
Warping! Others have hit on a lot of this, so I’ll try to be brief.
- warping is due to the plastic shrinking as it cools. This builds tension in the lower layers of the print
- bigger prints are naturally more warp prone
- part shape and aspect ratio also plays a role. Parts with big aspect ratios (eg much wider or longer than the other axis) are more warp prone. Parts with sharp transitions are also more likely to warp
- different filaments are more warp prone than others. PLA is least prone, followed by PETG. ASA/ABD are the most warp prone I’ve printed so far
- fiddling with temps and speeds can help
- make sure you have good bed adhesion (clean bed, good first layer, etc)
- having good bed adhesion will only take you so far. I’ve had prints pull my magnetic bed plate up
- you can try printing a draft shield around your part (think a skirt as tall as your part)
- IMO eclosures are the way to go for warp prone parts. You’ll need to be somewhat careful about chamber temps getting too high (this can cause nozzle clogs for PLA/PETG) or not getting high enough (ASA/ABS will still warp in a cool chamber). My enclosure has a removable lid that I pop for PLA/PETG and has insulation/bedfans/a filter for ASA/ABS
Draft shields are seriously underrated for warping - i’ve had amazing results with them on large flat prints where even a brim wasn’t enough, just set it 3-4mm away from the model in your slicer and it creates this perfect little microclimate.
My guess is it’s warping from thermal contraction as it cools. PLA is easier to print with than, say, ABS, because it doesn’t contract as it cools quite as much, but it still contracts some, and each successive layer, it’s like layering on rubber bands, until it pulls off.
there’s several things that can help it. The first is to use a heated bed. (you want to set it for moderately below the glass transition temperature PLA+ is typically around 50-60 in actual temp. I’d suggest measuring the actual surface temp with an IR thermometer… if it’s glossy, take a sheet of paper or a single-layer bed leveling test print and place it on top.
If you’re already using a heated bed and the temp checks out, the next option is to print a brim up around the part. this increases the surface area. Additionally you can increase the skirt height to create a wall that traps air and keeps the part warmish (slightly lower than bed temp, typically.) You don’t need to go all the way up, even an inch will help.
Going a step further, you can set up a box over the printer as a make shift enclosure. Or, if you’re looking for a more permanent solution, I like using rigid insulation foam- you can get it from your big box hardware store for pretty cheap. 1/4" 1/2" sizes are easy to work with and you can use PVA glue to hold it together, or most epoxies. (hot glue if you’re careful, but it’ll melt if you put too much on.) for just a one-off project, you can cut it using a box cutter, but if you use it a lot, there’s hot knife cutters (or wire cutters,) that work wonders… but that’s another topic.
Thanks for the advice.
The heated bed was set to 70, however I’ve realised it’s actually only for the initial layer where it drops to 60.
Do you think I should try to consistent 60 or 70?
I do have an IR thermometer so I will give it a thorough probe…
As for an enclosure… This is something I remember planning when I initially got the machine years ago. Unfortunately one of the big selling points of the any cubic chiron was the enormous build plate! This means building of an enclosure for it eats up quite a bit of space 😂 It’s currently situated underneath a desk with three of the four sides covered, but I shall make a curtain to cover the front.
N.b. I can’t ever recall using any significant amount of the enormous build plate… So when I look to buy a new printer, I’ll definitely go with something a lot smaller, with an enclosure.
its not uncommon to start high and come down a bit. PLA+ typically has it’s glass transition right around there, and you do not want to be above that.
check the actual surface temperature, if you can, since most beds, the surface will be cooler than what the probe under it is saying, but typically you want 55ish for printing temp.
another way you can check is to just set some scrap plastic of the same filament on it. If it goes rubbery and pliant, its too high. the tricky thing about glass transition is it’s not a single point, it’s more of a small range, where, approaching it, it starts getting noticeably softer until it stops changing as much.
One advice not yet mentioned, if it is your design, try to design with printing in mind. Add stress relief blocks to the model. Add corner adhesion helpers.
There are guides online that will explain this a lot better than I could.Have you cleaned the bed with alcohol or a similar solvent before printing?
I do usually give it a quick scrub, maybe not the best technique… But I blightly scrub the surface with a sponge… admittedly using some mild soap and water, then wiping it down with plain water. And finally drying with paper towel. I also make sure the bed preheats beforehand to drive off any remaining moisture.
As other comments of suggested I will try using some IPA 99. If it continues this way I likely use some glue as well.
Yeah so I’ve struggled with warping too and for me by far the best bang for the buck was alcohol. I’ve never tried glue or hairspray or any actual adhesives.
You might try hairspray over glue as it’s super easy to get even coverage and is significantly cheaper that glue especially with all these expensive “specialized” printing glues that have come out recently.
Very normal when printing long straight lines. Nothing to do with the age of the filament. There’s already good advice in the comments. You can also slow down your print, especially the first 4-10 layers to help avoid this. The longer the layers have to cool before you drop more molten plastic on top of them the less they will contract.
I’ve seen the alcohol recommendation already (91% minimum) but have you tried washing the bed with hot water and dish soap? Sometimes when my bed adhesion just won’t take I find dish soap solves it instantly.
PLA does have a shelf life, if cleaning the bed isn’t working getting a fresh roll could definitely be worth a try. PLA+ in particular has always seemed extra finicky to me.
Yeah as soon as I realized I was enjoying myself, I ordered a few roles of different materials. I’ll give them a try when they land.
Dish soap is my usual go to!
it has been a while since I’ve printed, but now you mention it yes I seem to recall never having good luck with pla+
FWIW I wouldn’t do dish soap like all the time, I only go to it when IPA isn’t doing the job. Come to think of it, since I switched to 99% IPA I haven’t needed to use dish soap at all; doesn’t seem to leave behind that residue.
As always, experimenting is the key. If you’ve eliminated wet filament, z-offset calibration, nozzle clogs, nozzle heat, bed heat, bed cleaning, model issues (e.g., low surface area needing brims), and filament feeding issues… that PLA may just hate you.
Dish soap is better than alcohol, especially if you’re cleaning the bed in a sink with lots of water to rinse all the accumulated oils off.
My experience has been the exact opposite. Dish soap cleans lead to a lot of lifted prints on my Bambu smooth and textured sheets. Dish soap followed by IPA works better but seems pointless when IPA alone works best.
Bed adhesion is the most likely cause - give it a really good clean. You can also use a glue stick to help it stick better, but that’s often just a crutch that doesn’t address the root problem.
Enclosure, bed temp, bed adhesion stuff (glue stick/hairspray/pei), leveling
😂 I know what to sing a theme with the responses. For the size of machine and enclosure is difficult. But it is positioned in a place I should be able to fashion something.
As I’ve mentioned with other comments I will try each of these things.
Have you had much luck with hairspray?
An enclosure doesn’t have to be fancy, in a pinch I’ve literally used a garbage bag (I don’t recommend this though bc of fire risk and the risk getting caught up in the kinematics)
It’s been ages since I did the glue/hairspray/tape stuff. I just use a pei sheet now. It’s not a great solution, it gets everywhere unless you remove your bed to spray it
I use a PEI sheet + hairspray for my smooth plate and just raw dog the textured plate. I find that prints don’t stick well enough on my smooth PEI (Bambu) without the hairspray to help.
I had some success with applying gluestick to the bed
I replaced the stock PEI bed sheet on my Sovol with an aftermarket one. It made a world of difference. If other options fail, they’re not that expensive.
Yep, you’ve got some warping, the longer and skinnier the print the more it wants to warp. Pla isn’t too bad for warping typically, but PLA+ is an alloy of pla and petg and is more finnicky. Not nearly as much as pure petg is but the point of it is you get an improvement of the physical properties for only being a bit more fisdly to print. I’ve found age can affect adherence, but only in the extreme, and I think it’s more to do with not being stored dry than age alone. For prevention, there’s a bunch you can do. Simplest is clean your print bed, rubbing alcohol or just dish soap and water have both worked well for me in the past. Getting a more adherent print bed like textured PEI or just layering it with something your print sticks better to like hairspray, painters tape or a layer of gluestick helps. Upping the bed temp can help, I think because you get less of a temperature differential between the plastic coming out of the nozzle and the first few layers so there’s less force pulling on it. You can also add a brim or less recommend a raft in the slicer. Lastly, you can change the design of the part. Making it leas long and skinny and rounding corners helps. On that subject you should seek advice from others, it’s not something I know a lot about.
tell your slicer to add bunny ears
e.g. https://wiki.bambulab.com/en/software/bambu-studio/brim-ears
If nothing else already suggested works for you, let your printer bed warm up to temperature and sit for a while (“heat soak”).
If you have auto bed leveling, what can happen is that thermal expansion will change your bed level after the probe has run, so by the time the first layer is printing, calibration is off. Granted, this is less likely with PLA, but like I said, if nothing else works.


